When a severe storm hits, the aftermath can leave homeowners and business operators feeling overwhelmed, especially when it comes to roof damage. The process of storm damage roof repair can seem daunting, but with the right information and a clear plan, you can restore your property and peace of mind. This comprehensive guide provides a step-by-step storm repair guide designed for residents and small business owners in this community. Whether you’re facing missing shingles, leaks, or more extensive destruction, understanding the proper approach to roof repair is essential. In this article, you’ll learn how to assess damage, work with insurance, choose the right contractor, and ensure your roof is repaired to last. Let’s dive into the practical steps you need to take after a storm to protect your investment and keep your property safe.
Step-by-Step Storm Damage Roof Repair Guide for Bloomfield Hills
After a major storm, the first priority is safety. Before inspecting your roof, ensure the area is secure and there are no immediate hazards such as downed power lines or unstable structures. Once it’s safe, begin your step-by-step storm repair guide by performing a visual inspection from the ground. Look for obvious signs of damage such as missing or curled shingles, dented gutters, and debris on the roof. If you notice water stains on ceilings or walls inside your home or business, this may indicate a leak that needs immediate attention.
Document all visible damage with clear photos and detailed notes. This documentation will be crucial when filing an insurance claim and working with repair professionals. Next, check your attic for any signs of water intrusion, such as damp insulation or mold growth. Early detection can prevent more costly repairs down the line.
Once you’ve gathered your evidence, review your insurance policy to understand your coverage for storm-related roof repairs. Contact your insurance company to report the damage and initiate the claims process. Many insurers require prompt notification, so don’t delay. You may be asked to provide your documentation and, in some cases, meet with an adjuster for an onsite inspection.
While waiting for the insurance process, take temporary measures to prevent further damage. This might include tarping exposed areas or moving valuables away from leaks. Avoid attempting major repairs yourself, as this could be dangerous and may affect your claim.
For a detailed look at real-world storm repairs in the area, check out this step-by-step storm repair guide for Bloomfield Hills to see how professionals handle restoration projects from start to finish.
Step-by-Step Storm Damage Roof Repair Guide for Bloomfield Hills, MI
Once you’ve secured your property and begun the insurance process, the next step in your step-by-step storm repair guide is to obtain professional assessments. Contact a reputable local roofing contractor with experience in storm damage. A thorough inspection will identify not only the obvious issues but also hidden problems such as compromised underlayment, damaged flashing, or weakened structural components.
During the assessment, the contractor will provide a detailed report and estimate for repairs. This report is valuable for both your records and your insurance claim. Be sure to ask questions about the scope of work, materials to be used, and the expected timeline for completion. A trustworthy contractor will walk you through each step and explain the reasoning behind their recommendations.
Comparing multiple estimates can help you make an informed decision. Look for contractors with positive reviews, proper licensing, and insurance. Avoid those who pressure you for immediate decisions or demand large upfront payments. Remember, quality workmanship is key to ensuring your roof’s longevity and your property’s safety.
If your roof requires emergency repairs, prioritize those that prevent water intrusion and further structural damage. Temporary fixes should be followed up with permanent solutions as soon as possible. Keep all receipts and records of work performed, as these may be needed for your insurance claim.
If you need a quote for repairs after storm damage, many local companies offer free assessments and can guide you through the process from inspection to completion.
Step-by-Step Storm Damage Roof Repair Guide for Bloomfield Hills, Michigan
After you’ve selected a contractor, the next phase in the step-by-step storm repair guide is scheduling and executing the repairs. The contractor will coordinate with you to set a timeline that minimizes disruption to your daily routine or business operations. Before work begins, confirm the details of the repair plan, including the types of materials, warranty coverage, and safety procedures.
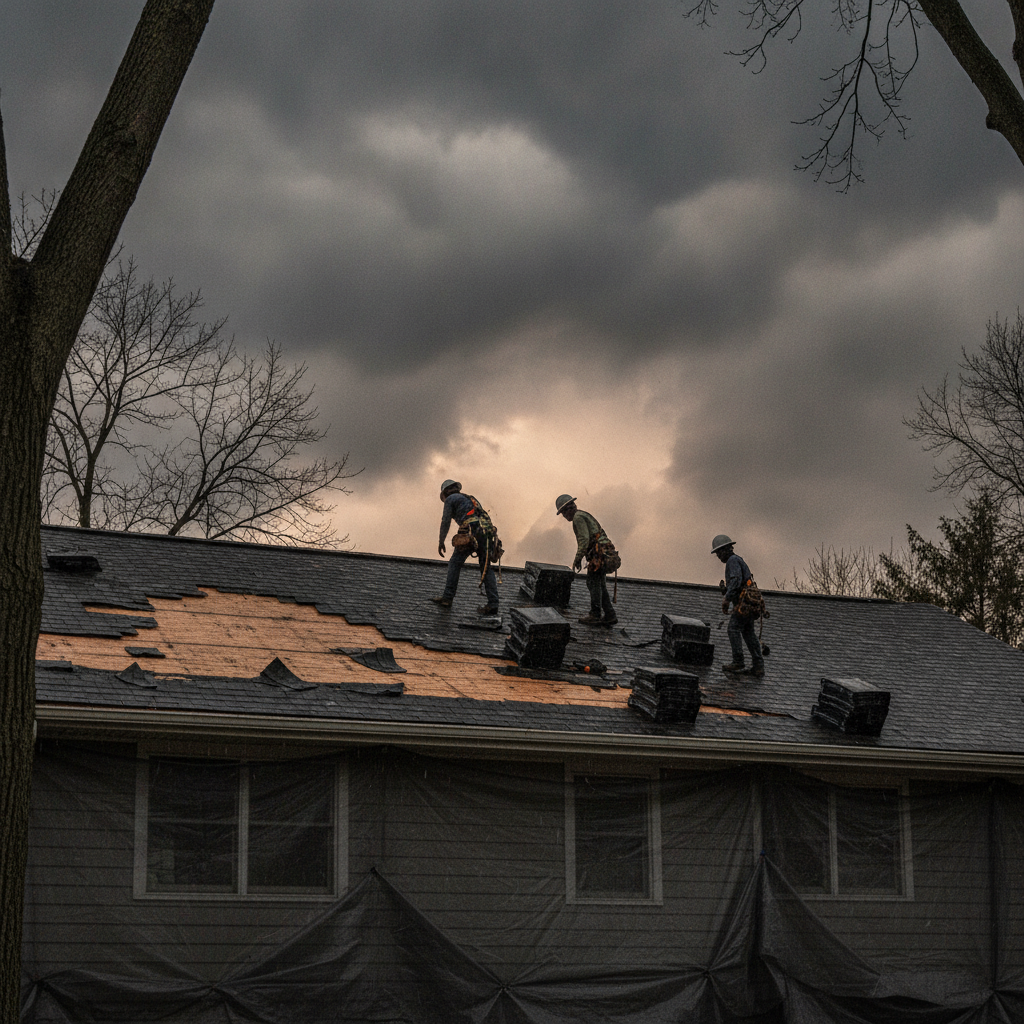
The repair process typically starts with the removal of damaged materials. Roofers will strip away compromised shingles, underlayment, and any sections of decking that have been affected. Next, they will address structural repairs, such as reinforcing trusses or replacing rotten wood. Once the structure is sound, new underlayment and shingles are installed, followed by flashing and sealants to ensure a watertight finish.
Throughout the project, maintain open communication with your contractor. Regular updates and inspections help ensure the work meets your expectations and adheres to local building codes. Upon completion, review the finished repairs with your contractor and request documentation for your records.
For those seeking trusted local expertise, Bloomfield Construction is known for quality craftsmanship and customer service in the region. Their experience with storm damage restoration makes them a reliable choice for residents and business owners alike.
Understanding Storm Damage: Types and Signs
Storms can cause a wide range of roof damage, from minor cosmetic issues to severe structural problems. Common types of storm damage include missing or broken shingles, granule loss, dented flashing, and punctures from debris. Hail can leave pockmarks on shingles, while high winds may lift or tear off entire sections. Water intrusion is another major concern, as it can lead to mold, rot, and interior leaks.
Recognizing the signs of storm damage early is crucial. Look for loose or missing shingles, sagging rooflines, and water stains on ceilings or walls. Check gutters and downspouts for granules, which indicate shingle wear. In commercial properties, inspect flat roofs for pooling water and membrane tears. Prompt identification and repair of these issues can prevent more extensive and expensive damage in the future.
If you’re unsure about the extent of the damage, schedule a professional inspection. Experienced roofers use specialized tools and techniques to detect hidden problems that might not be visible from the ground. Early intervention is the best way to protect your investment and maintain the integrity of your roof.
Table: Common Storm Damage Signs and Solutions
| Damage Sign | Possible Cause | Recommended Solution |
|---|---|---|
| Missing Shingles | High Winds | Replace shingles, inspect for underlying damage |
| Granule Loss | Hail Impact | Replace affected shingles, check for leaks |
| Dented Flashing | Flying Debris | Repair or replace flashing, reseal joints |
| Water Stains | Roof Leak | Locate and repair leak source, replace damaged materials |
| Sagging Roof | Structural Damage | Reinforce structure, consult professional roofer |
This table summarizes the most common storm damage signs and the recommended solutions. Use it as a quick reference when assessing your property after severe weather.
How to File a Storm Damage Insurance Claim
Filing an insurance claim is a key part of the step-by-step storm repair guide. Start by reviewing your policy to understand what types of storm damage are covered. Most policies include wind, hail, and water damage, but exclusions may apply. Contact your insurance provider as soon as possible to report the loss. Provide detailed documentation, including photos, estimates, and receipts for temporary repairs.
An adjuster may visit your property to assess the damage. Be present during the inspection to point out all affected areas and answer questions. Keep a record of all communications with your insurer, including dates, times, and the names of representatives you speak with.
Once your claim is approved, review the settlement carefully. Make sure it covers the full scope of repairs needed to restore your roof to its pre-storm condition. If you disagree with the assessment, you have the right to request a second opinion or appeal the decision. Working with an experienced contractor can help you navigate the claims process and ensure you receive fair compensation.
Choosing the Right Roofing Contractor
Selecting a qualified roofing contractor is one of the most important steps in the step-by-step storm repair guide. Look for contractors with a strong reputation in the area, proper licensing, and insurance. Ask for references and check online reviews to gauge customer satisfaction. A reputable contractor will provide a written estimate, explain the repair process, and answer your questions thoroughly.
Beware of storm chasers, contractors who appear after major storms and offer quick, cheap repairs. These companies may lack the experience or credentials needed for quality work. Always verify credentials and avoid paying large deposits upfront. Local contractors are more likely to stand behind their work and be available for future service needs.
Before signing a contract, review all terms and conditions, including warranty details and payment schedules. Clear communication and transparency are essential for a successful roof repair project. Don’t hesitate to ask for clarification or additional information if needed.
Preventing Future Storm Damage
While you can’t control the weather, you can take steps to minimize future storm damage to your roof. Regular maintenance is key, schedule annual inspections to identify and address minor issues before they become major problems. Keep gutters clean and free of debris to ensure proper drainage. Trim overhanging branches that could fall on your roof during a storm.
Consider upgrading to impact-resistant shingles or installing additional waterproofing layers. These enhancements can provide extra protection against hail, wind, and heavy rain. Reinforce flashing and sealants around chimneys, vents, and skylights to prevent leaks.
Educate your family or staff on emergency procedures, such as shutting off utilities and moving valuables to safe areas. Having a plan in place can reduce stress and help you respond quickly when storms strike. By following these proactive measures, you can extend the life of your roof and protect your property investment.
What to Expect During Roof Repairs
Understanding the roof repair process helps set expectations and reduces surprises. Once repairs begin, you can expect some noise and activity around your property. Most projects start with the removal of damaged materials, followed by repairs to the underlying structure. Roofers will then install new shingles, flashing, and sealants to restore your roof’s integrity.
The duration of repairs depends on the extent of the damage and the size of your roof. Minor repairs may take a day or two, while more extensive restoration could require several days. Weather conditions and material availability can also impact the timeline. Your contractor should provide regular updates and be available to answer any questions during the project.
After the work is completed, inspect the repairs with your contractor to ensure everything meets your expectations. Request documentation for your records, including warranties and proof of completion. A well-executed repair will restore your roof’s function and appearance, giving you peace of mind for the next storm season.
Maintaining Your Roof After Repairs
Ongoing maintenance is essential to maximize the lifespan of your repaired roof. Schedule regular inspections, especially after severe weather events. Look for signs of wear, such as loose shingles, cracked sealant, or clogged gutters. Promptly address any issues to prevent minor problems from escalating.
Keep records of all maintenance and repairs, as this documentation can be valuable for future insurance claims or property sales. Consider enrolling in a maintenance program with your roofing contractor for added peace of mind. These programs typically include scheduled inspections, minor repairs, and priority service during emergencies.
By staying proactive, you can protect your investment and ensure your roof continues to provide reliable protection for years to come. A well-maintained roof is your best defense against the unpredictable weather in this region.
Final Thoughts
Navigating the aftermath of a storm can be challenging, but with a clear step-by-step storm repair guide, you can approach roof repairs with confidence. From initial inspection and documentation to working with insurance and choosing a reliable contractor, each phase is crucial to restoring your property. Remember to prioritize safety, act quickly, and maintain open communication with professionals throughout the process. By following the steps outlined in this guide, you’ll be well-equipped to protect your investment and ensure your roof stands strong against future storms. Stay prepared, stay proactive, and trust in the expertise of local professionals to keep your home or business safe.