When floodwater, a burst pipe, or a long roof leak soaks a building, the visible puddle is rarely the biggest problem. The real risk is what lives in the moisture: bacteria, mold spores, and other microbes that start multiplying on wet surfaces within a day or two. That is why sanitizing is its own distinct stage of Water Damage Restoration Bloomfield Hills property owners rely on, separate from pumping out water or running dryers. Drying removes the moisture, but sanitizing makes a surface safe to touch, live with, and rebuild on.
Whether you run a small shop, manage a development project, or simply own a home, understanding how this stage works helps you ask better questions, spot corner-cutting, and protect your investment. In this guide, we walk through the full sanitizing process step by step: how contamination is classified, which surfaces can be saved, which cleaning agents are used, how professionals verify results, and what you can do while you wait for help to arrive. The goal is to give you a clear, practical picture of what separates a surface that looks clean from one that truly is.
Why Sanitizing Is More Than Wiping Down Wet Surfaces
Many people assume that once the standing water is gone and fans are humming, the job is basically finished. In reality, porous materials such as drywall, wood, and fabric can hold contaminants deep below the visible surface. Even clean-looking water picks up dirt, chemicals, and microbes as it travels through a structure, and it only gets worse as hours pass.
Sanitizing is the deliberate process of reducing those microorganisms to safe levels using the right products, contact times, and techniques. It is different from cosmetic cleaning, which removes soil but may leave bacteria behind. A qualified provider of Bloomfield Hills MI water damage restoration treats sanitizing as a documented stage with defined goals, not an afterthought. Skipping it can lead to lingering odors, recurring mold growth, and health complaints from occupants, all of which are far more expensive to fix than doing the job correctly the first time.
Understanding the Three Categories of Water Contamination
Before any product touches a surface, technicians classify the water source, because the category determines the entire sanitizing plan. Industry guidelines generally describe three categories, and each calls for a different level of caution and treatment.
- Category 1 (clean water): Comes from a sanitary source such as a supply line or a tub overflow. It is low risk at first but can degrade quickly.
- Category 2 (gray water): Contains significant contamination, such as washing machine or dishwasher discharge, and can cause illness if exposure continues.
- Category 3 (black water): Grossly contaminated water from sewage backups, river flooding, or standing water that has aged. It carries serious health risks.
Clean water that sits for a day or two can slide into a higher category as microbes grow. This is why speed matters and why assessments are repeated as conditions change rather than done only once at the start.
The Initial Assessment and Moisture Mapping
Every credible sanitizing plan starts with measurement, not guesswork. Technicians walk the property with moisture meters, thermal imaging cameras, and sometimes hygrometers to see where water has traveled. Moisture often hides behind baseboards, under flooring, and inside wall cavities, so a visual inspection alone misses a lot.
During this phase, the team documents readings, photographs affected areas, and sketches a moisture map that shows which materials are wet and how far contamination likely spread. They also identify the water source and confirm it has been stopped. This record serves three purposes: it guides the work, it provides a baseline to measure progress, and it supports insurance conversations later. When Bloomfield Construction or any other restoration company begins a project this way, owners gain clear evidence of what was found, what was treated, and why certain materials were kept or removed.
Deciding What to Clean and What to Remove
One of the most important judgment calls in sanitizing is separating salvageable surfaces from those that must go. Non-porous and semi-porous materials such as metal, glass, sealed concrete, and many hard plastics can usually be cleaned and disinfected thoroughly. Porous materials are far trickier because contaminants soak in where cleaners cannot reach.
After Category 3 events, items like carpet padding, insulation, and soaked drywall are typically removed rather than treated, because no surface product can fully reach what has absorbed black water. Even with clean-water losses, long exposure can change the outcome. Prolonged water damage from a slow roof leak, for example, often stains and weakens materials in ways that make replacement smarter than repeated treatment. A good technician explains these decisions in plain language, so you understand the tradeoff between cost, safety, and long-term results.
Protective Gear and Containment Before Treatment
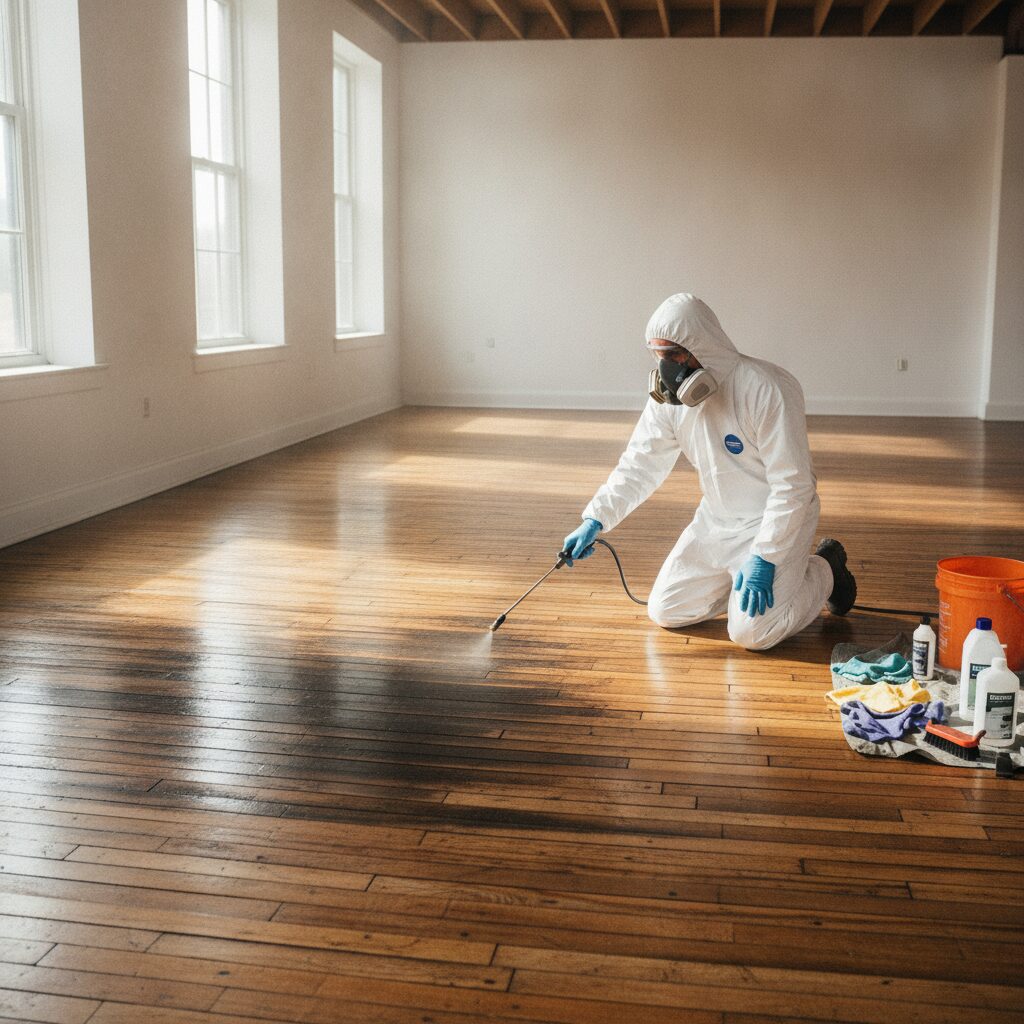
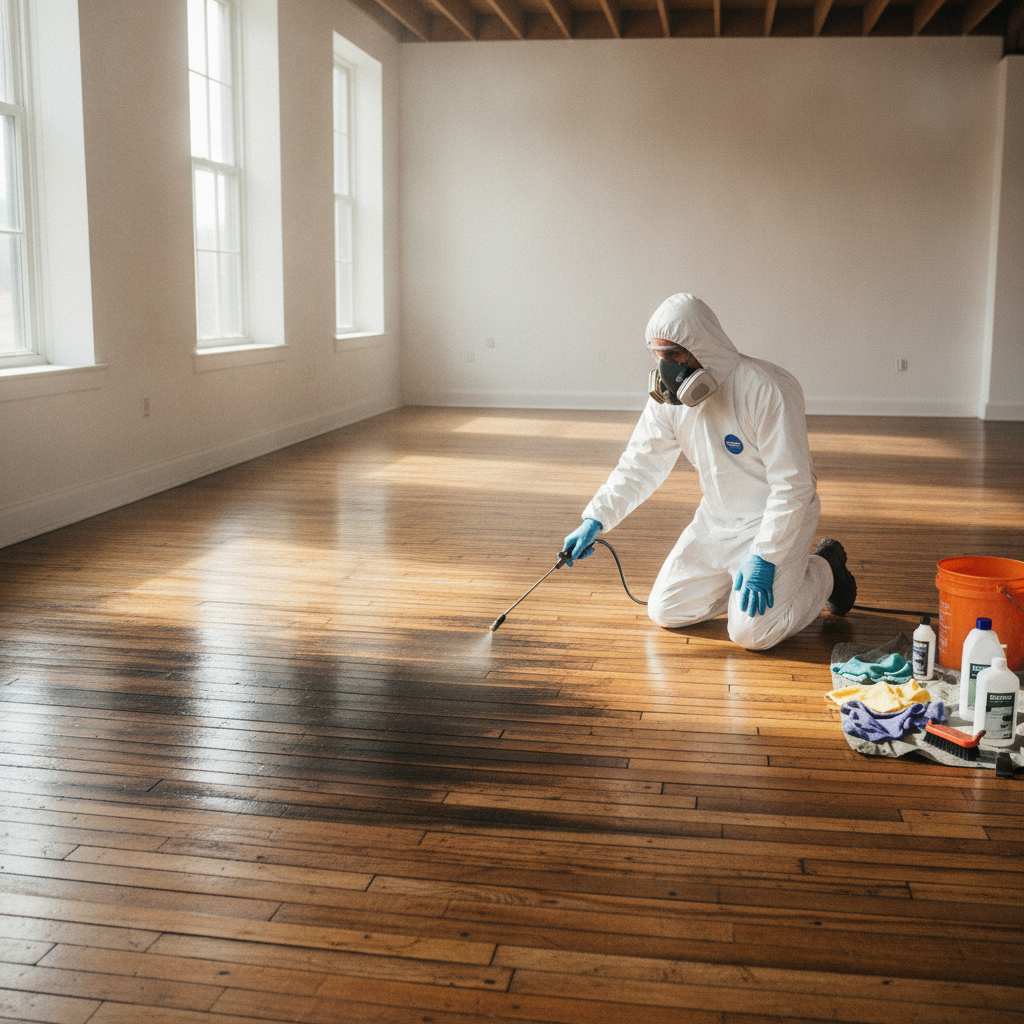
Sanitizing is not something to attempt without protection, and professionals take safety seriously for both workers and occupants. Depending on the contamination category, crews wear gloves, boots, eye protection, coveralls, and respirators rated for the products and airborne particles involved.
Containment is just as important. Technicians often seal off affected zones with plastic sheeting and use negative air machines fitted with HEPA filtration, which pulls air out of the work area and prevents contaminants from drifting into clean rooms. Without containment, scrubbing and demolition can spread spores and bacteria through a building, turning a contained problem into a property-wide one. For a small business that needs to keep part of its space open, proper containment can mean the difference between partial operation and a complete shutdown. It also protects customers and staff who share the building during the work.
Cleaning First, Then Disinfecting
A rule that surprises many property owners is that disinfectants do not work well on dirty surfaces. Soil, silt, and organic residue shield microbes and neutralize many products, so cleaning always comes first. Technicians remove visible debris, then wash surfaces with a detergent solution and rinse as appropriate for the material.
Only after that does the disinfecting step begin. The product is applied evenly and left on the surface for its labeled contact time, which is the period needed to actually kill target organisms. Wiping it off early defeats the purpose. Crews also pay attention to details people overlook, such as the undersides of cabinets, the backs of door trim, and the bottom edges of framing. Rushing this sequence is a common reason that odors return or that follow-up testing fails, so patience at this stage pays off.
Choosing Antimicrobial Products and Application Methods
Not every product suits every surface, and professionals match chemistry to the job. Common options include quaternary ammonium disinfectants, hydrogen peroxide based cleaners, and, in some situations, chlorine-based solutions. Each has strengths and limits, such as how it affects metals, finishes, or fabrics, and what ventilation it requires.
Application methods vary too. Hand wiping works for contact surfaces, while pump sprayers cover larger areas, and foggers or electrostatic sprayers can reach irregular spaces. Technicians read product labels carefully and follow manufacturer instructions for dilution, dwell time, and safety. Used correctly, these tools are effective; used carelessly, they can damage finishes or leave residues. This is another reason that do-it-yourself sanitizing with household bleach, which is often overused or mixed with other chemicals, can create more problems than it solves.
A Quick Comparison of Surfaces and Treatments
Different materials respond differently once they have been exposed to contaminated water. The table below summarizes typical approaches, though actual decisions always depend on the water category, exposure time, and the condition of each item.
| Surface Type | Typical Approach | Salvage Outlook |
|---|---|---|
| Sealed concrete and tile | Clean, rinse, apply disinfectant | Usually good |
| Solid hardwood | Clean, dry slowly, treat surface | Often good if caught early |
| Drywall | Test moisture, remove if saturated | Limited |
| Carpet and pad | Extract and treat, or discard pad | Poor after gray or black water |
| Metal fixtures and appliances | Clean and disinfect | Usually good |
Odor Control and Air Quality During Sanitizing
Smell is often the first sign that sanitizing has been skipped or done halfway. Musty and sour odors come from microbial activity, and masking them with fragrance only hides the issue. True odor control means removing the source, whether that is a contaminated material, trapped moisture, or residue in a hard-to-reach cavity.
Technicians use HEPA air scrubbers to capture airborne particles, and in some cases deodorizing methods that neutralize odor molecules rather than cover them. Good airflow and dehumidification continue throughout, because high humidity keeps the environment friendly to microbes. Occupants with allergies, asthma, or weakened immune systems deserve extra care, and a thoughtful provider will ask about these concerns up front. Improved air quality is one of the most noticeable benefits owners report once the work is done properly.
Verifying That Surfaces Are Truly Clean
A surface that looks spotless is not automatically safe, so verification is a key part of the process. Technicians re-check moisture levels to confirm materials have returned to normal dry standards, since sanitizing on a still-damp surface invites regrowth. They also inspect visually and by smell for signs of lingering contamination.
In more serious cases, or when occupants have health concerns, third-party testing such as ATP swab readings or air sampling can provide objective confirmation. Documentation matters here as well: photos, readings, and product records create a paper trail that supports insurance claims and gives future buyers or tenants confidence. Developers and commercial owners in particular benefit from this record, because it demonstrates due diligence. Before reconstruction begins, the space should meet a clear standard, not just a hopeful impression.
What Property Owners Can Do Before Help Arrives
The hours after a water event matter, and there are safe steps you can take while waiting for a professional team. First, stop the water at its source if you can do so safely, and shut off electricity to affected areas if there is any risk of shock. Keep children, pets, and vulnerable people away from contaminated zones.
- Photograph and video everything before moving items, for insurance records.
- Lift small valuables, electronics, and papers out of the wet area.
- Open windows for airflow when weather allows, and avoid using household vacuums on wet areas.
- Avoid mixing cleaning chemicals, especially bleach and ammonia.
- Do not throw away damaged items until they are documented.
These small actions limit the spread of damage and preserve evidence, while leaving the technical sanitizing work to people with the equipment and training to do it safely.
Finding the Right Help in Bloomfield Hills
Choosing a restoration partner is easier when you know what good sanitizing looks like. Ask whether the company classifies water categories, documents moisture readings, uses containment, and explains which materials will be removed versus treated. Ask what products they use and how they verify results. Vague answers, pressure to skip steps, or promises that seem too fast are warning signs.
It also helps to work with a team that understands local building styles, older homes, and the seasonal weather that tends to cause problems in this region. Residents here deal with freeze-thaw cycles, heavy storms, and aging plumbing, all of which can lead to water intrusion. A provider familiar with these conditions can anticipate hidden moisture and plan accordingly. For Bloomfield Hills property owners, that local knowledge often translates into faster decisions, fewer surprises, and a smoother path back to normal.
Final Thoughts
Sanitizing water-damaged surfaces is the quiet but essential stage that turns a soaked, uncertain space into one you can trust again. It begins with classifying the water and mapping the moisture, moves through careful decisions about what to save and what to discard, and continues with proper protection, cleaning, disinfecting, odor control, and verification. Each step builds on the one before it, and skipping any of them raises the odds of mold, odors, and costly repeat repairs.
For small business owners, this process protects your customers, your staff, and your reputation. For developers, it safeguards the schedule and the quality of everything built on top of the repaired structure. For homeowners, it protects health and long-term property value. The common thread is that surface appearance is never the full story, and documented, methodical work beats quick fixes every time.
If you ever face a loss, act quickly, stay safe, document what you see, and lean on trained professionals for the technical work. Ask questions, expect clear answers, and insist on verification before rebuilding begins. With the right approach, even a serious water event can end with a clean, healthy, and fully restored property that you can use with confidence.